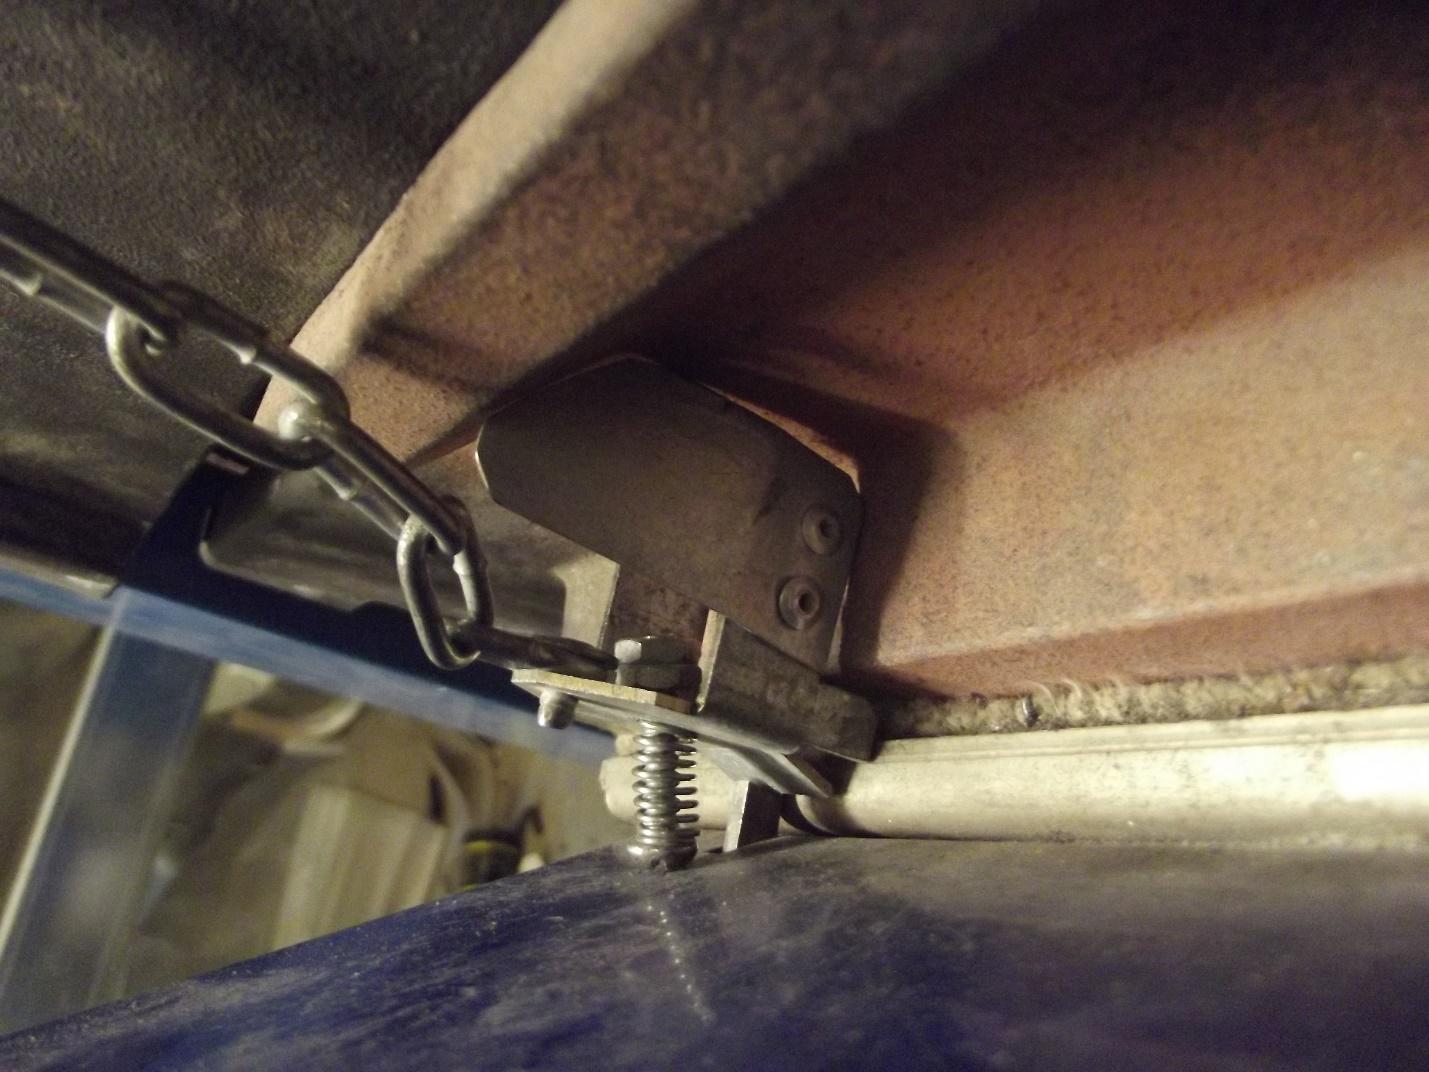
Boiler Connection Safety Switch Actuator Installation
Revision 2017-03-27
The “boiler connection safety switch actuator”:
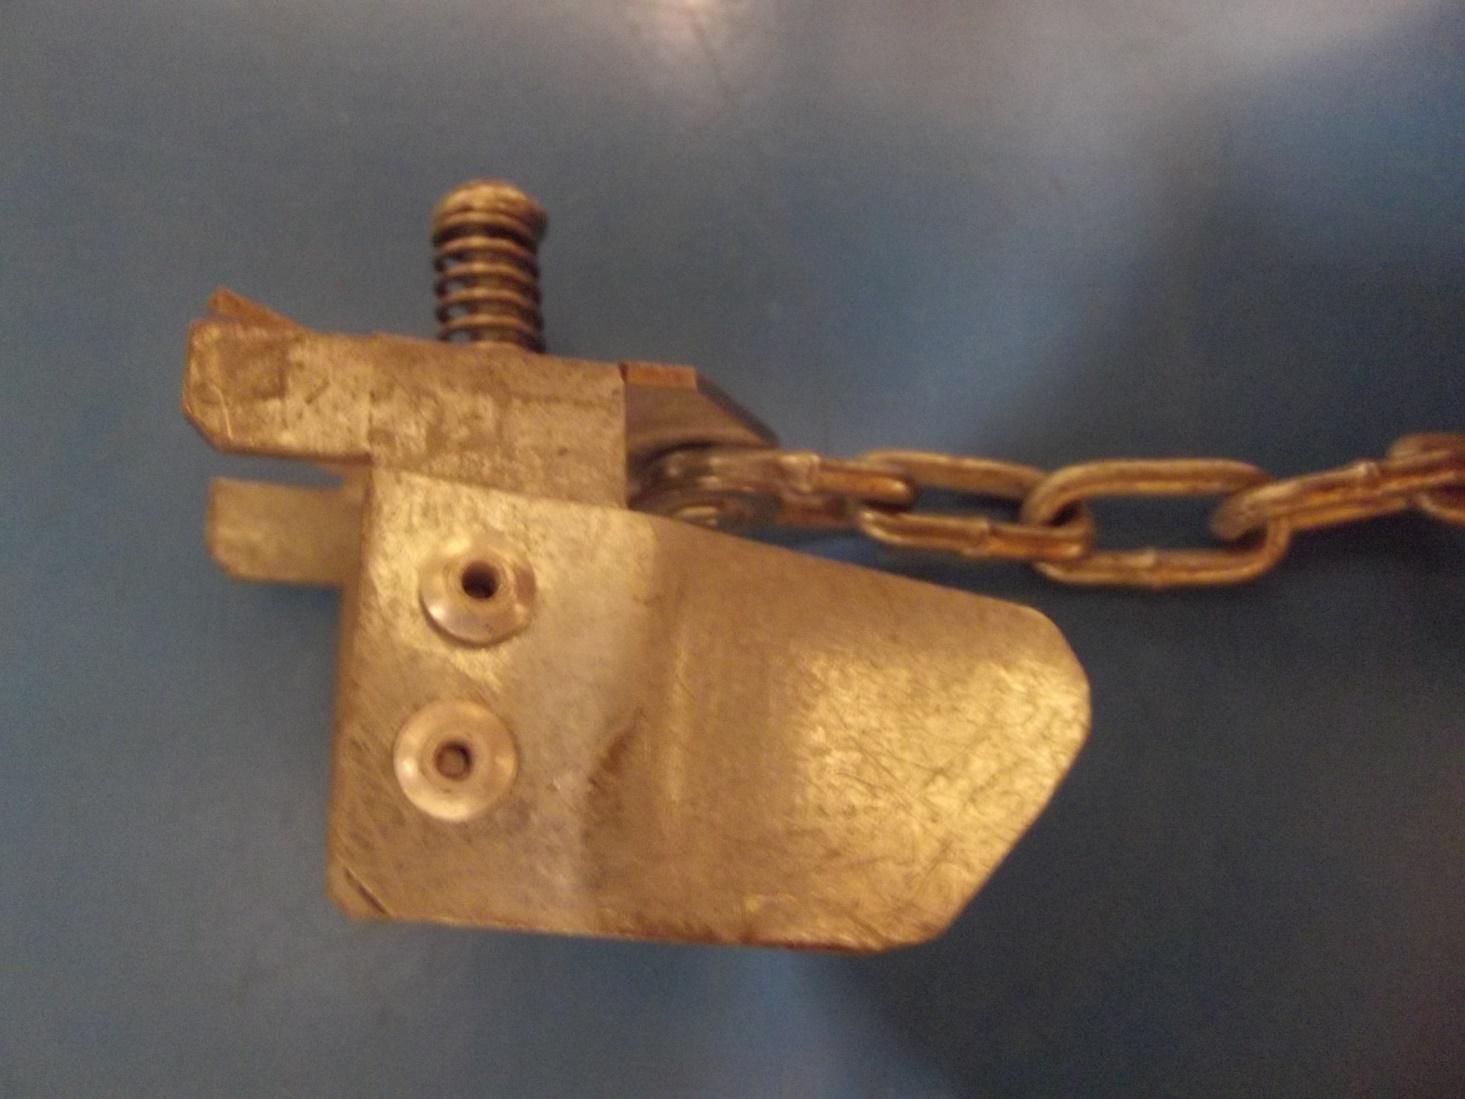
The image below shows the actuator correctly inserted between the pellet burner and the boiler door, which is securely closed. The pellet burner will not start without the actuator correctly in place. The pellet burner will shut off if it comes out of place.
The actuator is removed during boiler cleaning or pellet bin filling.
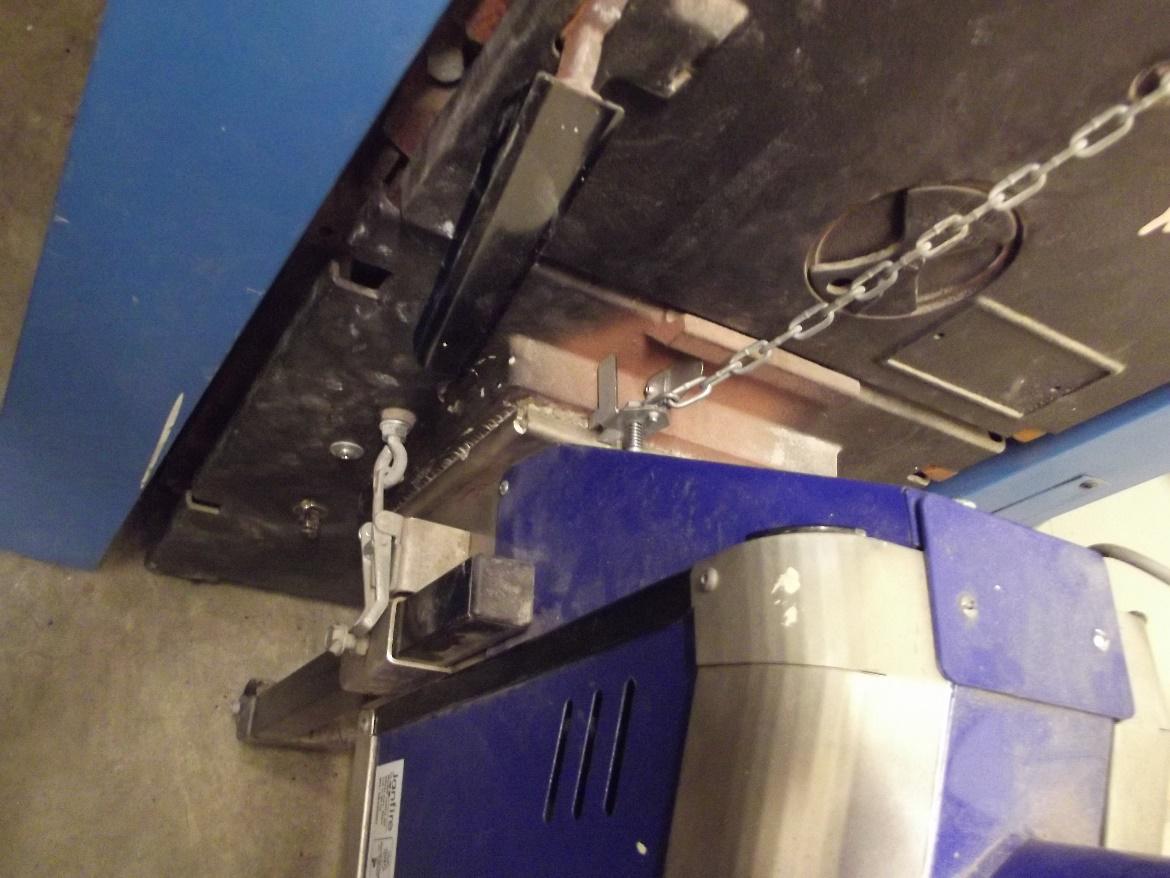
- The first step to replace the actuator. The actuator holds the boiler connection safety switch plunger back so the switch is closed. The plunger is the rectangular steel piece in the center of the photo protruding from the blue guard.
- The second step is to hold the safety switch plunger back toward the guard with a straight-bladed screwdriver.
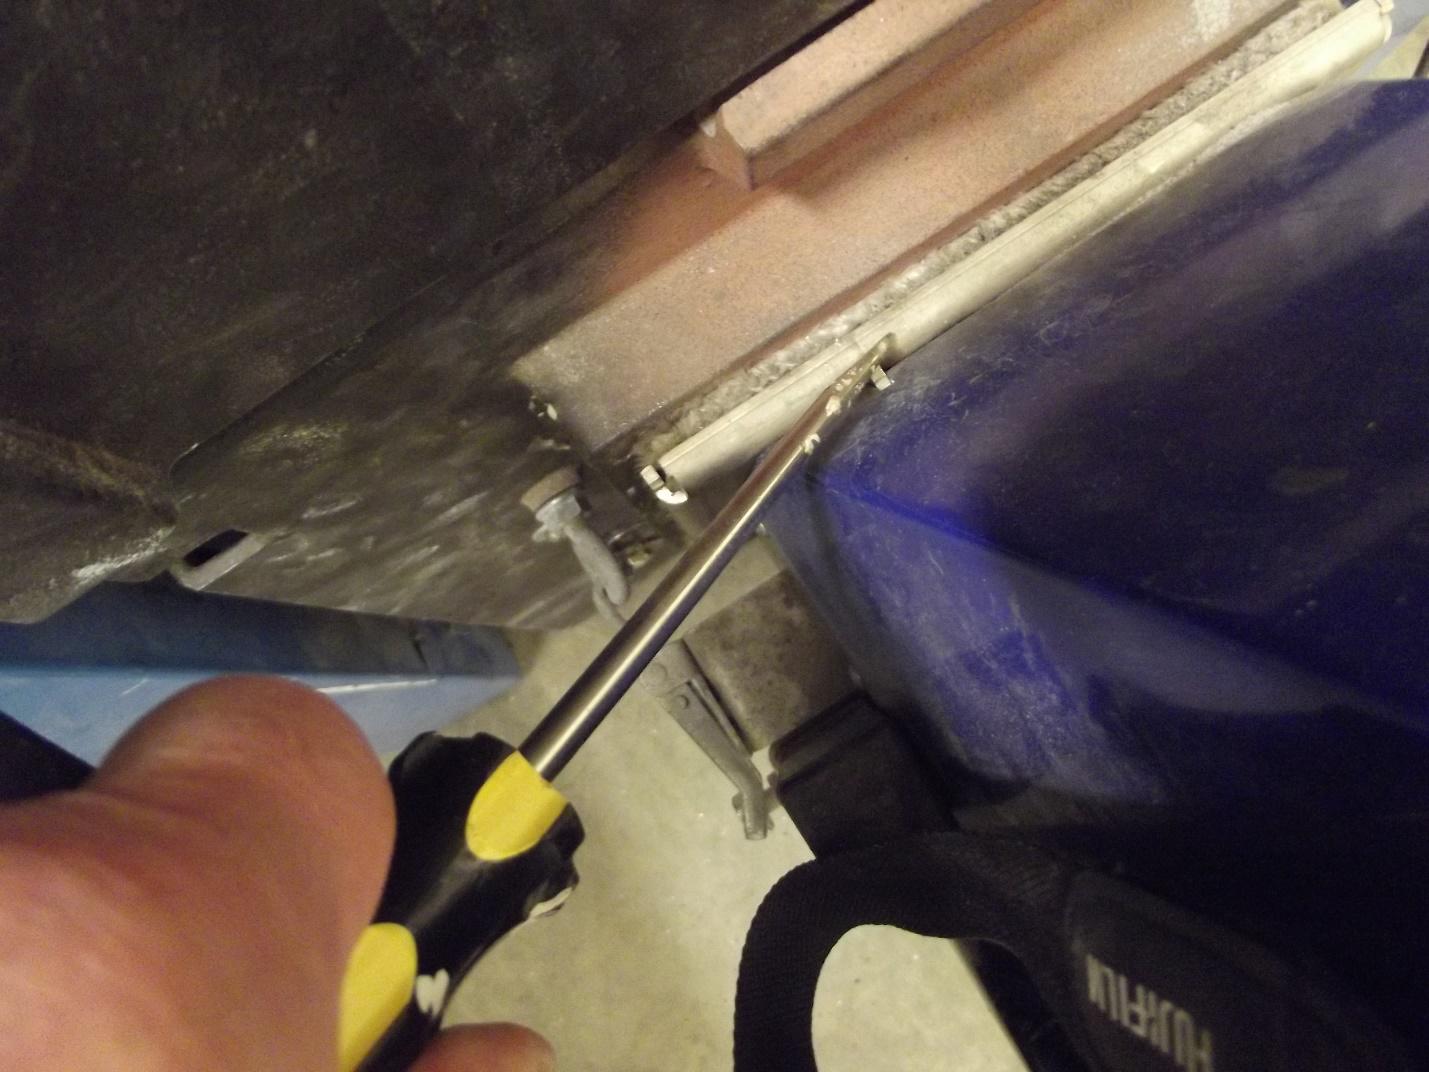
- The third step is to insert the actuator between the depressed plunger and the cast iron boiler. Start by inserting the bottom of the actuator against the screwdriver and rotate the top of the actuator toward the boiler. The coil tension spring on the actuator will have to be compressed and moved horizontally to do this.
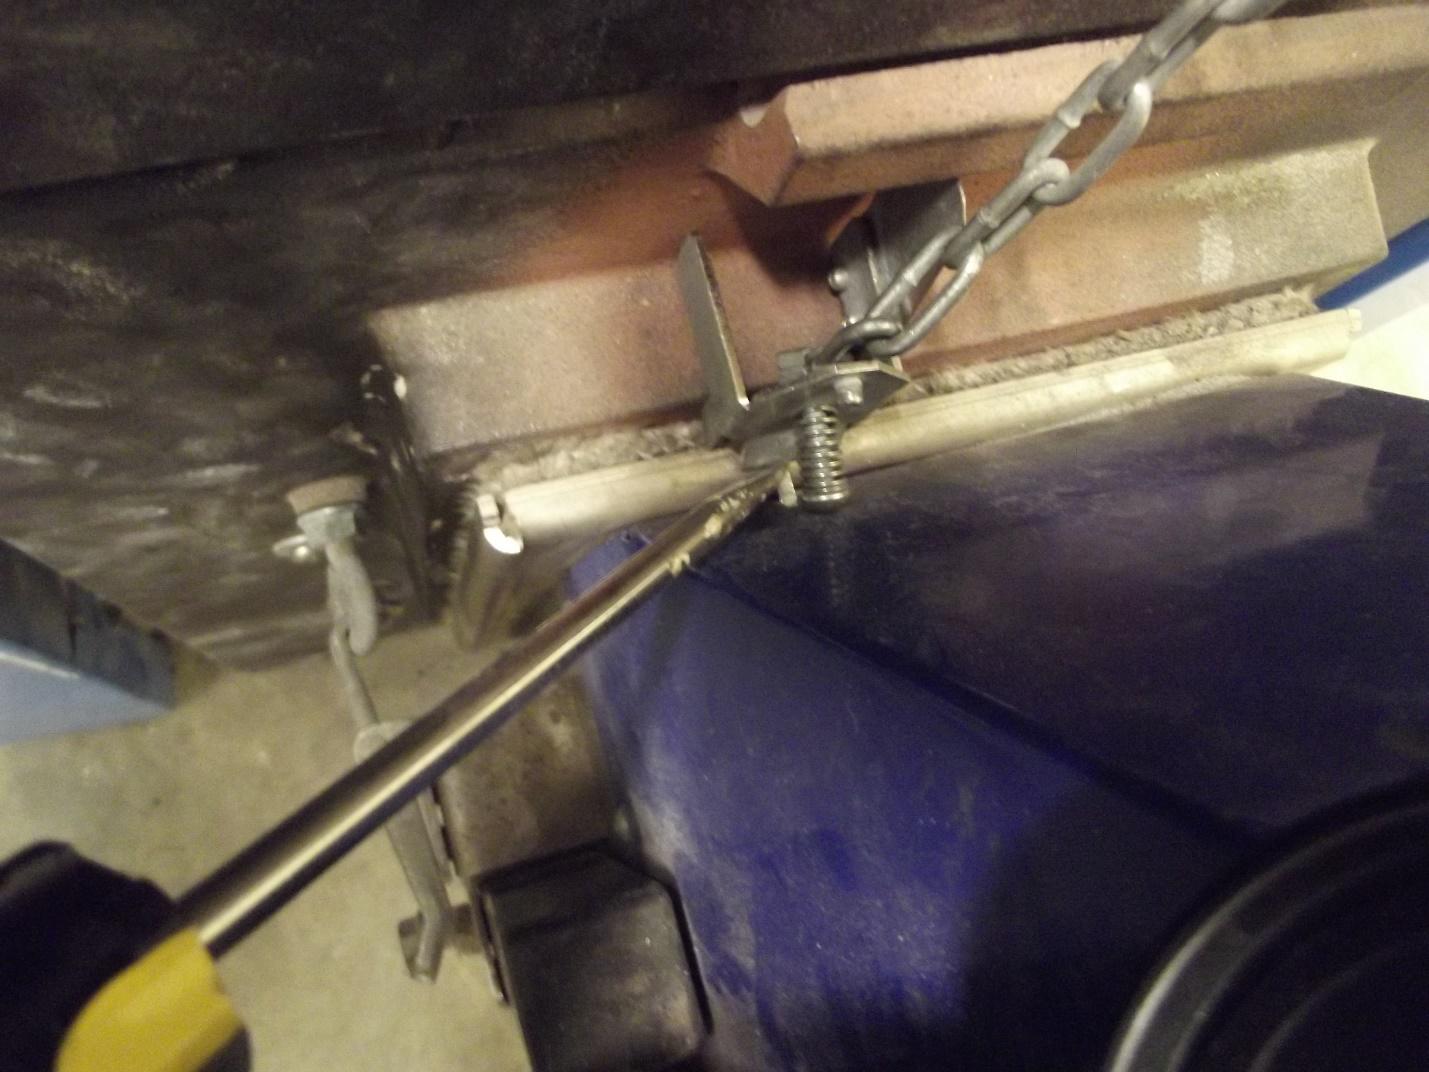
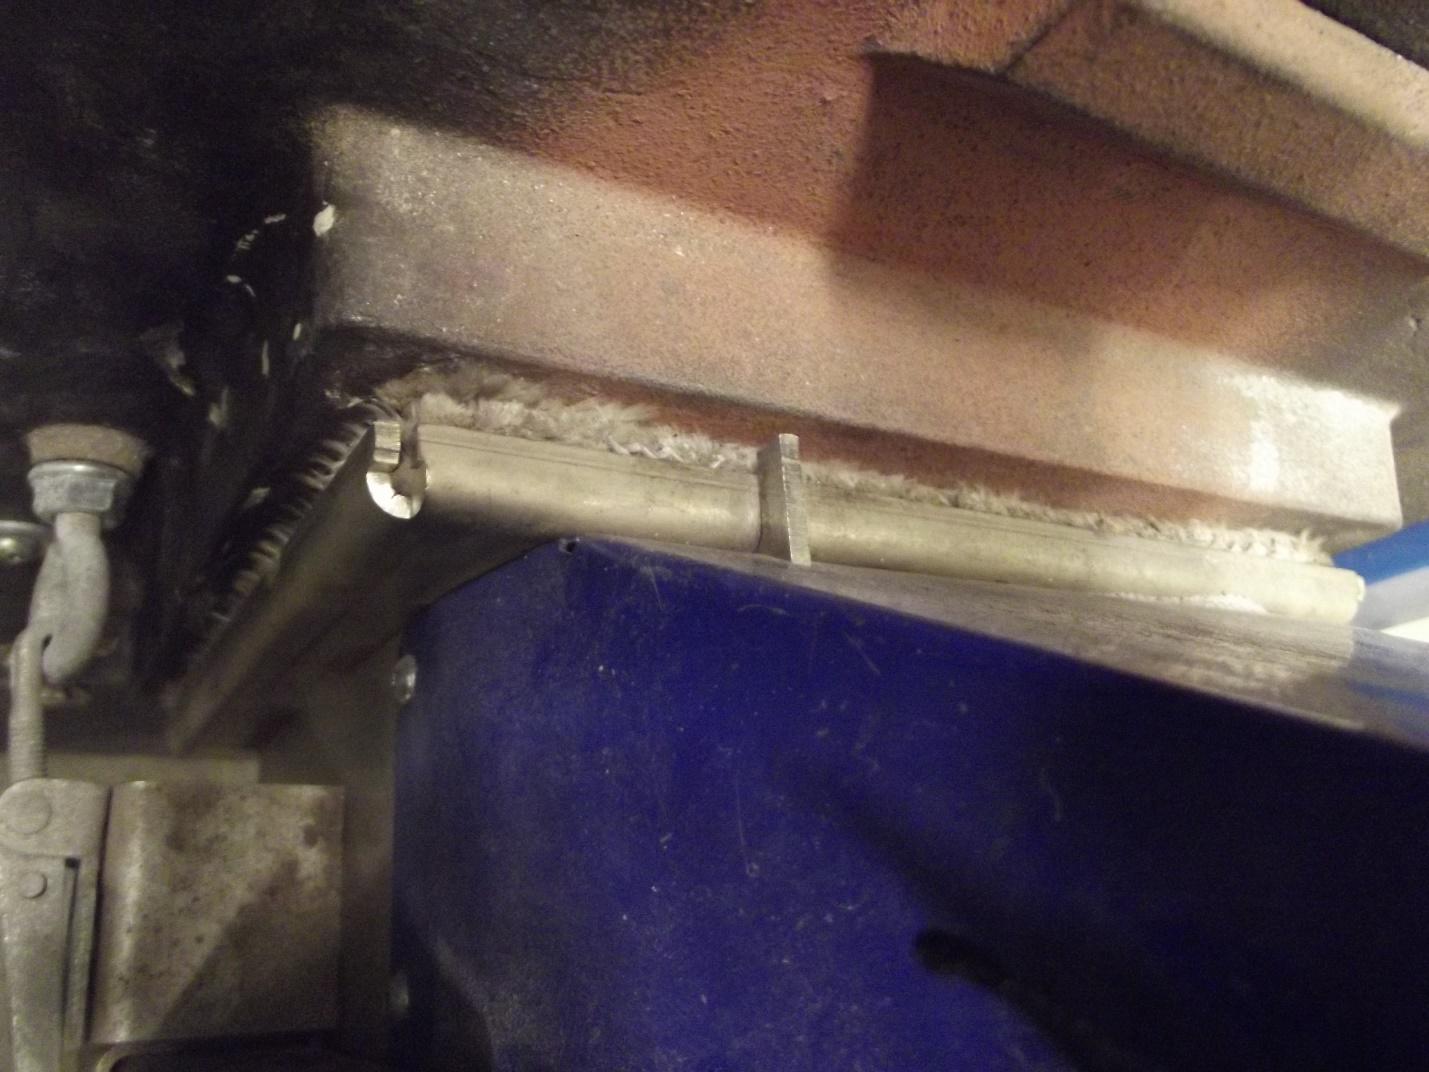
- Slide the screwdriver sideways to remove it. This view shows the actuator correctly installed.
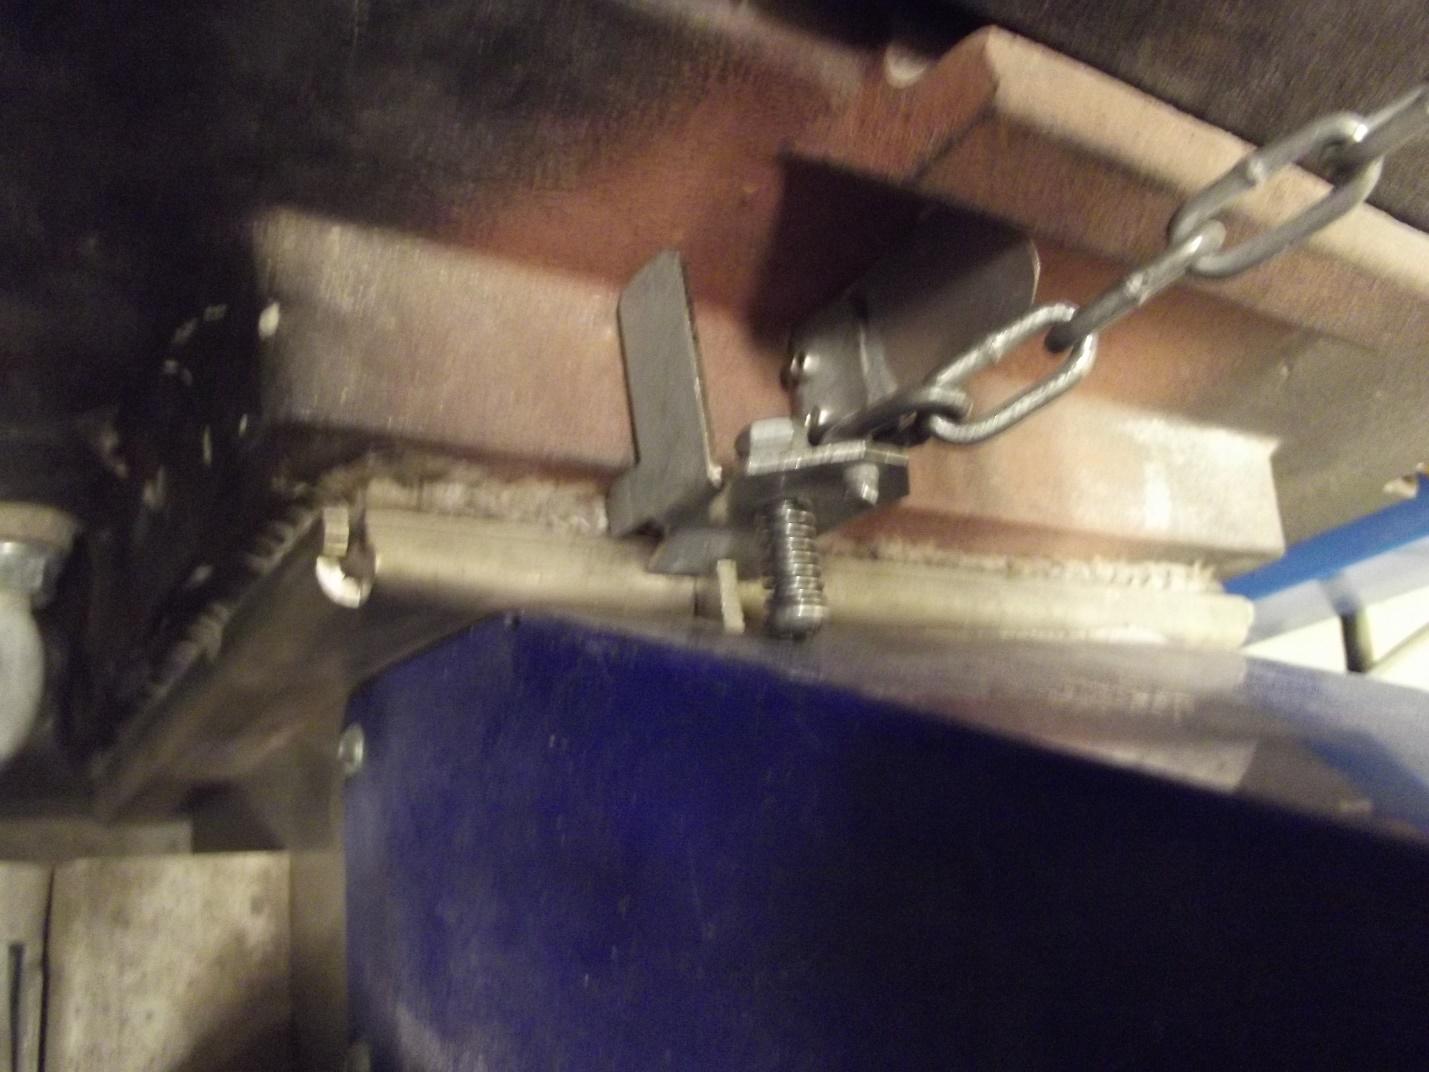
A side view showing the top of the actuator securely tucked under the lip of the cast iron boiler door. The safety switch plunger is firmly held in the closed position.
